


Discover How To Stop Lead Reactivity With Gentle Training
Your once calm dog transforms into a lunging, barking stranger the moment they spot another dog on your walk. The embarrassment stings as other owners cross the street to avoid you. Your arm aches from being yanked. You dread leaving the house. This pattern, known as lead reactivity, affects thousands of dog owners, and learning how to stop lead reactivity starts with understanding that your dog isn't aggressive, they're frustrated, scared, or overstimulated when movement is restricted.
The good news? Lead reactivity responds well to gentle training methods that don't rely on punishment or harsh corrections. You can teach your dog to remain calm around triggers through systematic desensitisation and positive reinforcement, creating new associations that replace reactive behaviour with confidence.
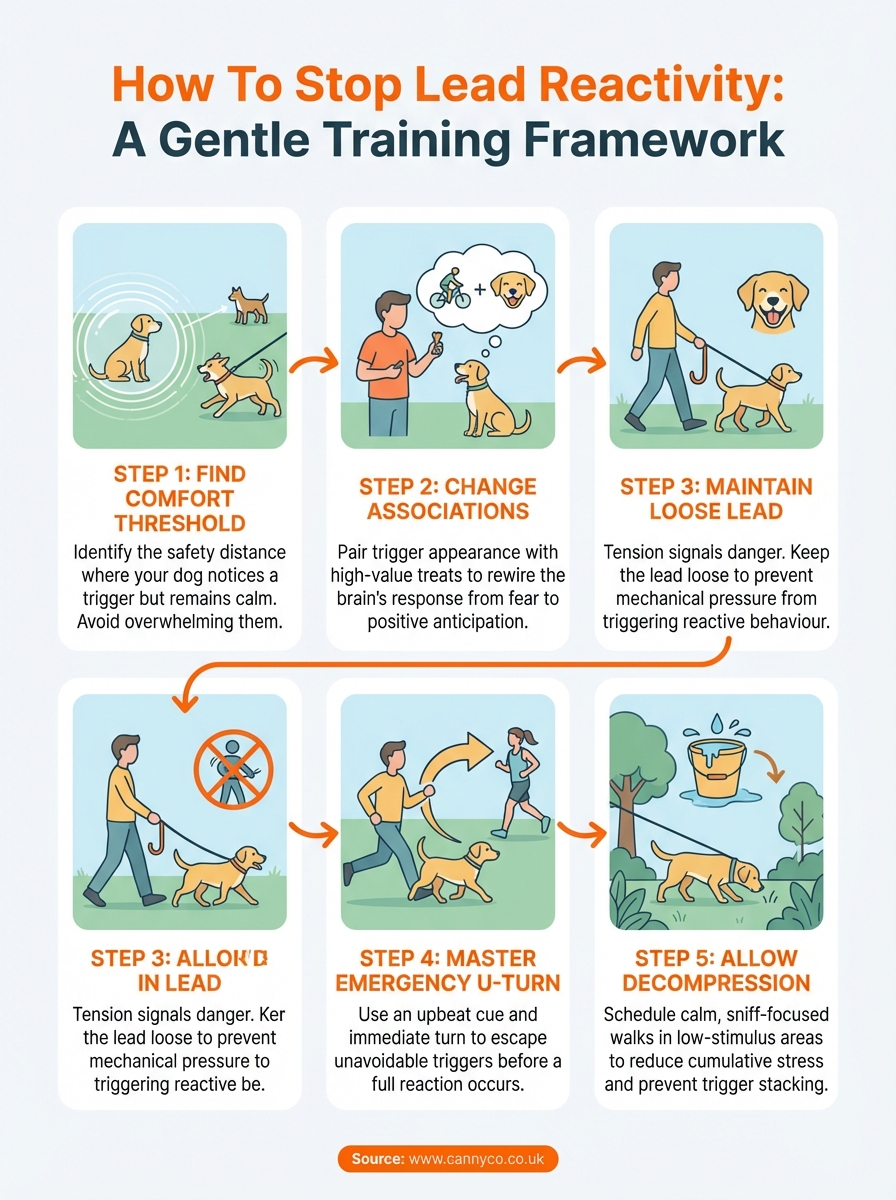
This guide walks you through five practical steps to reduce and eliminate lead reactivity. You'll discover why restriction triggers reactive responses, how to identify your dog's threshold distance, proven counter-conditioning techniques, loose lead walking fundamentals, emergency redirection methods, and the crucial role of decompression in maintaining progress. Each step builds on the last, giving you a complete framework for peaceful walks.
Why dogs become reactive when restricted by a lead
Dogs display completely different behaviour on a lead compared to off-lead encounters because the physical restriction fundamentally changes their options. When your dog meets another dog during off-lead play at the park, they approach, sniff, assess body language, and move away if uncomfortable. The lead removes this natural communication sequence, trapping your dog in a situation they cannot control or escape.
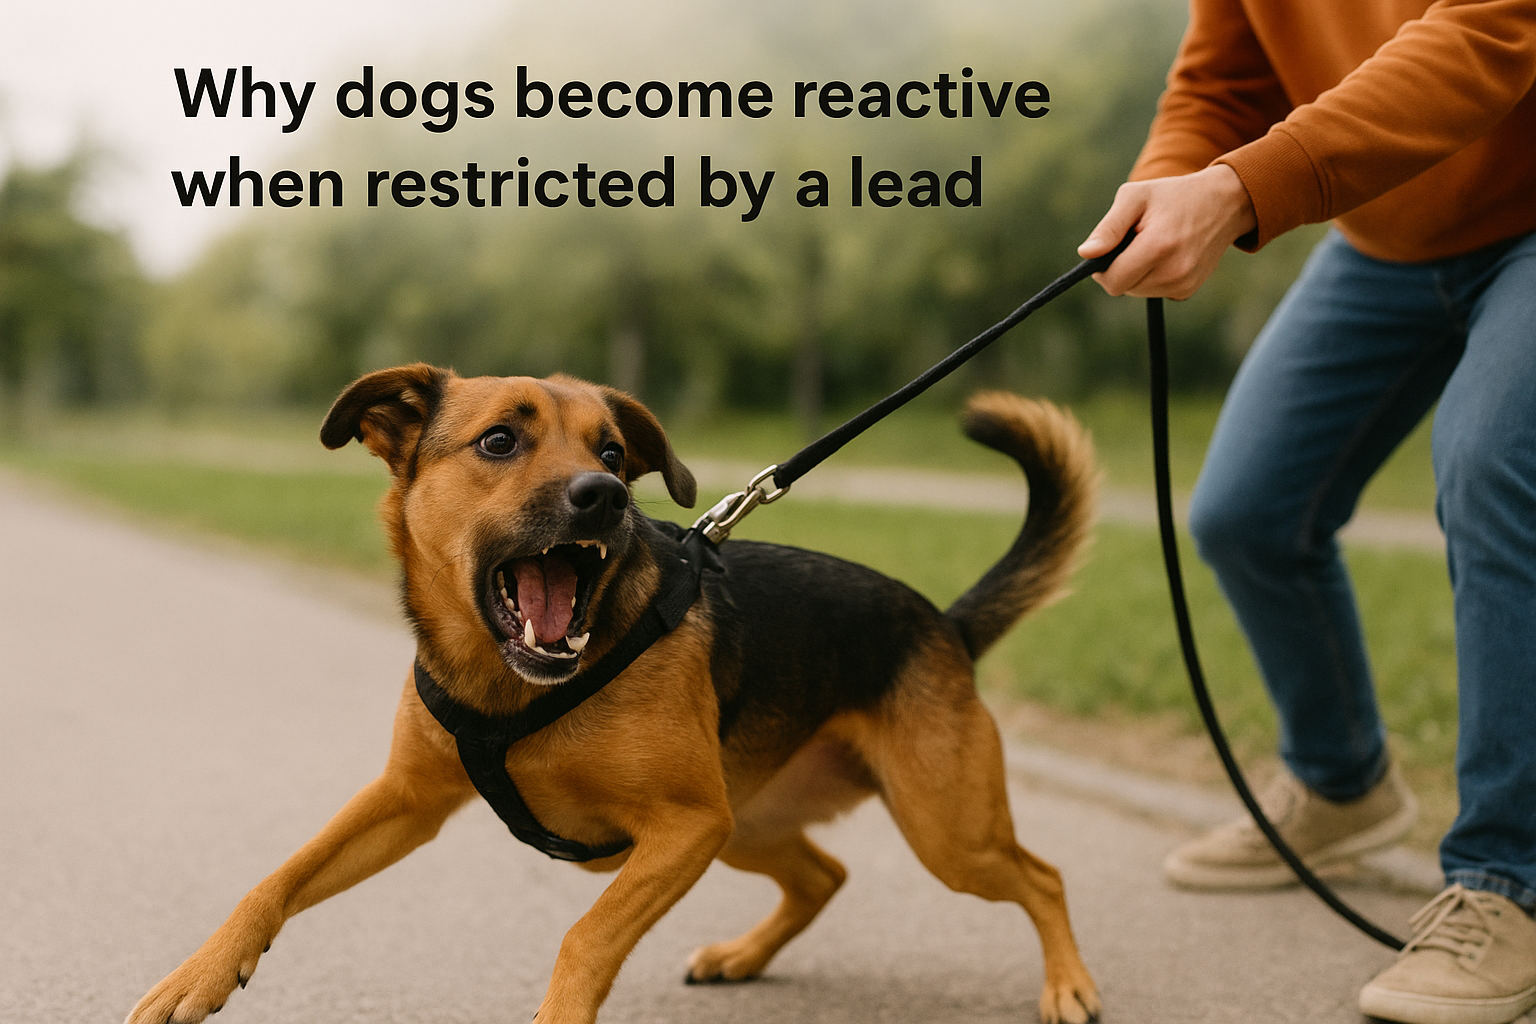
This mechanical restriction creates what behaviourists call barrier frustration. Your dog sees something interesting or concerning but cannot investigate it properly, building internal pressure that erupts as barking, lunging, or spinning. Every walk reinforces this pattern because the lead prevents natural resolution, teaching your dog that reactivity is the only available response to triggers.
The frustration barrier effect
Imagine being stuck behind a slow-moving queue when you're running late. The frustration builds with each passing second because you cannot move forward or step aside. Your dog experiences this same trapped sensation when they spot another dog, person, or vehicle whilst tethered to you. The lead creates a physical barrier between your dog and their natural coping mechanisms.
Dogs communicate primarily through body language and movement. They approach, retreat, circle, and create space to manage social situations. The lead eliminates these options, forcing your dog into a fixed position regardless of their comfort level. This inability to self-regulate distance triggers stress hormones like cortisol and adrenaline, preparing your dog's body for conflict even when none exists.
Barrier frustration transforms manageable situations into overwhelming experiences because your dog cannot use their primary stress-relief mechanism: movement away from the trigger.
Flight response becomes fight response
Your dog's nervous system operates on survival instincts that prioritize self-preservation above all else. When faced with a perceived threat, dogs instinctively choose between four F responses: freeze, flight, fidget, or fight. Off-lead dogs typically select flight, creating distance until they feel safe again. The lead removes this option entirely.
Without the ability to flee, your dog's brain selects the next available survival strategy: fight. This doesn't mean your dog wants to attack. The barking, lunging, and aggressive displays serve as distance-increasing signals designed to make the trigger move away instead. Your dog essentially thinks, "If I can't leave, I'll make you leave."
Lead tension amplifies this response. When you tighten the lead upon spotting a trigger, you inadvertently signal danger to your dog. They feel your body stiffen through the lead connection, your pace changes, and your breathing shifts. These subtle cues confirm their suspicion that the approaching dog, person, or cyclist represents a genuine threat worth defending against.
Previous experiences shape current reactions
Each reactive episode strengthens neural pathways in your dog's brain, making the behaviour more automatic over time. Your dog learns that barking and lunging successfully creates distance when other dogs or their owners cross the street to avoid the confrontation. This accidental reinforcement builds a powerful behavioral loop.
Dogs also develop conditioned emotional responses through repeated exposure. If your dog experienced fear during early on-lead encounters, perhaps when a larger dog approached too quickly, their brain now associates all on-lead meetings with that initial fear. The context alone triggers the stress response before the actual trigger appears.
Understanding how to stop lead reactivity requires recognizing that punishment-based methods worsen the underlying fear and frustration. Yanking the lead, shouting, or using aversive tools adds another threat to an already overwhelming situation. Your dog now worries about both the approaching trigger and your reaction, creating a perfect storm for explosive behaviour that damages your relationship and prevents genuine progress.
Step 1. Find the comfortable threshold distance
The first practical step in learning how to stop lead reactivity involves identifying the exact distance where your dog remains calm versus when they start reacting. This critical measurement, called the threshold distance, varies between individual dogs and even changes depending on the specific trigger. Your dog might tolerate joggers at three metres but need ten metres from other dogs. Finding this invisible boundary gives you the foundation for all subsequent training, allowing you to work within your dog's comfort zone rather than forcing them into overwhelming situations.
Identifying your dog's trigger zones
Your dog displays predictable warning signals before full reactive behaviour erupts. Watch for ear position changes, body stiffening, focused staring, or slowed movement when your dog first notices a trigger. These subtle cues mark the outer edge of their threshold zone, the distance where they've noticed the trigger but haven't lost emotional control yet. Many owners miss this window because they focus on the obvious barking and lunging rather than the earlier tension.
Different triggers create different threshold distances. Your dog might remain calm around stationary people at five metres but react to moving cyclists at fifteen metres. Environmental factors also affect thresholds, with your dog typically more reactive in confined spaces like narrow pavements compared to open parks. Time of day matters too, as accumulated stress from earlier encounters reduces tolerance levels throughout the walk.
Measuring and recording threshold distances
Take your dog to a quiet location during off-peak hours for your first threshold assessment. Position yourself where you can observe triggers approaching from a distance, such as a park bench with clear sightlines or a quiet residential street corner. Carry treats your dog loves and a notebook or phone for recording observations.
When a trigger appears, note the exact distance where your dog first notices it using landmarks or paced steps. Watch your dog's body language carefully. Record the point where tension begins and the point where reactive behaviour starts. This gap between awareness and reaction defines your working threshold distance for training sessions.
Create a simple tracking table to document your findings:
| Trigger Type | First Notice Distance | Reaction Distance | Notes |
|---|---|---|---|
| Other dogs | 12 metres | 7 metres | Worse with large breeds |
| Joggers | 8 metres | 5 metres | Movement triggers faster |
| Cyclists | 15 metres | 10 metres | Noise increases reactivity |
Your dog's threshold distance represents the safety zone where learning can occur without emotional flooding that prevents progress.
Repeat this assessment across different environments and times of day. You'll discover that threshold distances fluctuate based on context, giving you valuable data about when and where training will be most effective. Always work at distances where your dog notices the trigger but remains capable of disengaging and responding to you.
Step 2. Use counter-conditioning to change associations
Counter-conditioning forms the scientific backbone of learning how to stop lead reactivity by replacing your dog's negative emotional response with a positive one. This technique works by pairing the trigger (another dog, jogger, cyclist) with something your dog loves, typically high-value food rewards. Over time, your dog's brain rewires its automatic response, shifting from "that scary thing makes me anxious" to "that thing predicts something wonderful". The process requires consistency, proper timing, and working within your dog's threshold distance to avoid overwhelming their emotional capacity.
The classical conditioning principle
Your dog's brain creates automatic associations between events that occur together repeatedly. When you open a treat bag, your dog comes running because they've learned that crinkling sound predicts food. Counter-conditioning applies this same learning mechanism to triggers that currently produce reactive behaviour. Each pairing of trigger appearance plus high-value reward gradually builds a new neural pathway.
The emotional shift happens below conscious thought, which makes counter-conditioning particularly effective for fear-based reactivity. Your dog doesn't need to understand or cooperate actively. Their brain automatically forms the new association through repeated exposure to the trigger-reward pairing, eventually replacing the stress response with anticipation of treats.
Counter-conditioning succeeds because it addresses the emotional root of reactivity rather than simply suppressing the outward behaviour through punishment or correction.
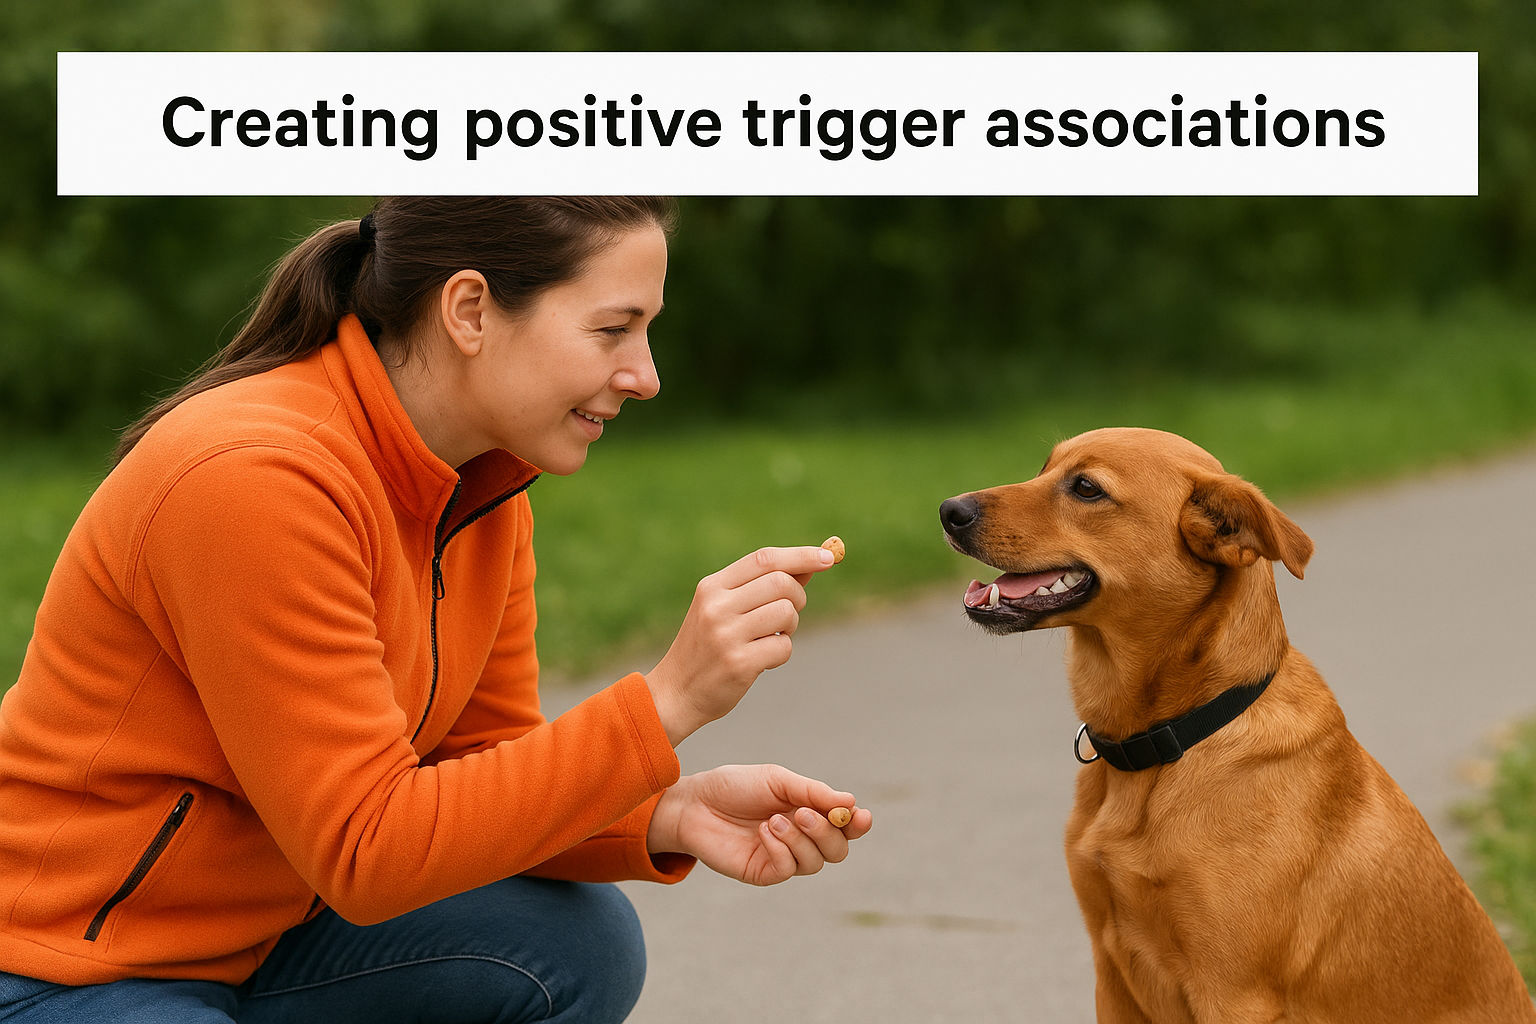
Creating positive trigger associations
Begin your counter-conditioning sessions by positioning yourself at your dog's threshold distance where they notice the trigger but haven't started reacting. Carry treats your dog finds irresistible, such as cooked chicken, cheese, or freeze-dried liver. Standard kibble rarely works because the reward value must outweigh the trigger's emotional impact.
Follow this structured approach during each training session:
- Watch for trigger appearance at a safe distance
- Mark the moment your dog notices the trigger (say "yes" or click)
- Deliver multiple treats in rapid succession
- Continue treating whilst the trigger remains visible
- Stop all treats when the trigger disappears from view
This sequence teaches your dog that trigger appearance predicts a treat party, whilst trigger absence means the party ends. Your dog quickly learns to look at you expectantly when they spot a trigger, actively seeking the reward rather than fixating on the source of previous stress.
Timing and treat delivery
Precise timing determines whether counter-conditioning succeeds or fails. You must deliver the first treat within two seconds of your dog noticing the trigger. Late delivery creates confusion because your dog cannot connect the trigger with the reward. Watch your dog's ears, body tension, and eye focus to catch the exact moment they spot the trigger.
Feed continuous treats at one-second intervals whilst the trigger remains visible. This rapid delivery rate maintains your dog's focus on you and prevents them from building arousal towards the trigger. Stop feeding immediately when the trigger moves out of sight, creating a clear on/off switch that strengthens the association. Repeat this process ten to fifteen times per session, gradually decreasing distance over subsequent weeks as your dog's emotional response transforms.
Step 3. Eliminate tension with loose lead walking
Understanding how to stop lead reactivity requires recognizing that physical tension in the lead directly triggers reactive behaviour. When you tighten the lead upon spotting a potential trigger, you send stress signals through the connection to your dog's collar or harness. Your dog feels this mechanical pressure and interprets it as confirmation that danger approaches, raising their arousal level before the trigger even reaches their threshold distance. Loose lead walking eliminates this contributing factor by maintaining slack in the lead throughout your walk, preventing you from accidentally cueing reactive responses.
The mechanics of loose lead pressure
Lead tension creates a feedback loop between you and your dog that escalates reactivity. Your dog pulls towards or away from a trigger, you tighten the lead to maintain control, the pressure around their neck or chest increases blood pressure and stress hormones, and your dog pulls harder or displays defensive behaviour. This mechanical escalation happens in seconds, often before you consciously realize you've created tension.
Different lead positions produce different emotional responses. Tension pulling your dog backwards away from a trigger increases frustration and barrier aggression because you're physically preventing investigation or escape. Tension holding your dog in place creates trapped sensations that trigger fight responses. Even slight lead tightness registers in your dog's nervous system as a warning signal, priming them for reactive behaviour.
Maintaining a loose lead throughout trigger encounters prevents you from accidentally communicating danger to your dog through mechanical pressure.
Teaching the loose lead foundation
Start your loose lead training in a distraction-free environment like your garden or a quiet hallway. Attach the lead and stand still. The moment your dog creates slack in the lead, mark with "yes" and deliver a treat. Repeat this simple slack-equals-reward pattern until your dog consistently maintains a loose connection without pulling.
Progress to walking practice using this structured approach:
- Take three steps forward with your dog
- Stop immediately if the lead tightens
- Stand completely still until your dog returns to you
- Mark and reward the moment slack appears
- Resume walking and repeat
Practice these stop-start sequences for five-minute sessions twice daily. Your dog learns that pulling stops all forward movement whilst a loose lead allows exploration to continue. Most dogs grasp this cause-and-effect relationship within three to five training sessions.
Maintaining slack during trigger encounters
Apply your loose lead skills during actual reactive situations by focusing on the lead rather than the trigger. When a trigger appears at your dog's threshold distance, check that slack remains in the lead. Hold the lead with a relaxed grip and loose arm, allowing the lead to form a gentle J-shape between you and your dog.
Walk past triggers using deliberate breathing and conscious muscle relaxation in your lead hand. Tense shoulders and rigid arms transmit stress through the lead connection even when you think you're maintaining slack. Drop your shoulder, soften your elbow, and let the lead hang loosely whilst continuing your counter-conditioning treat delivery from Step 2. Your dog receives consistent positive reinforcement without the conflicting mechanical pressure that undermines your training progress.
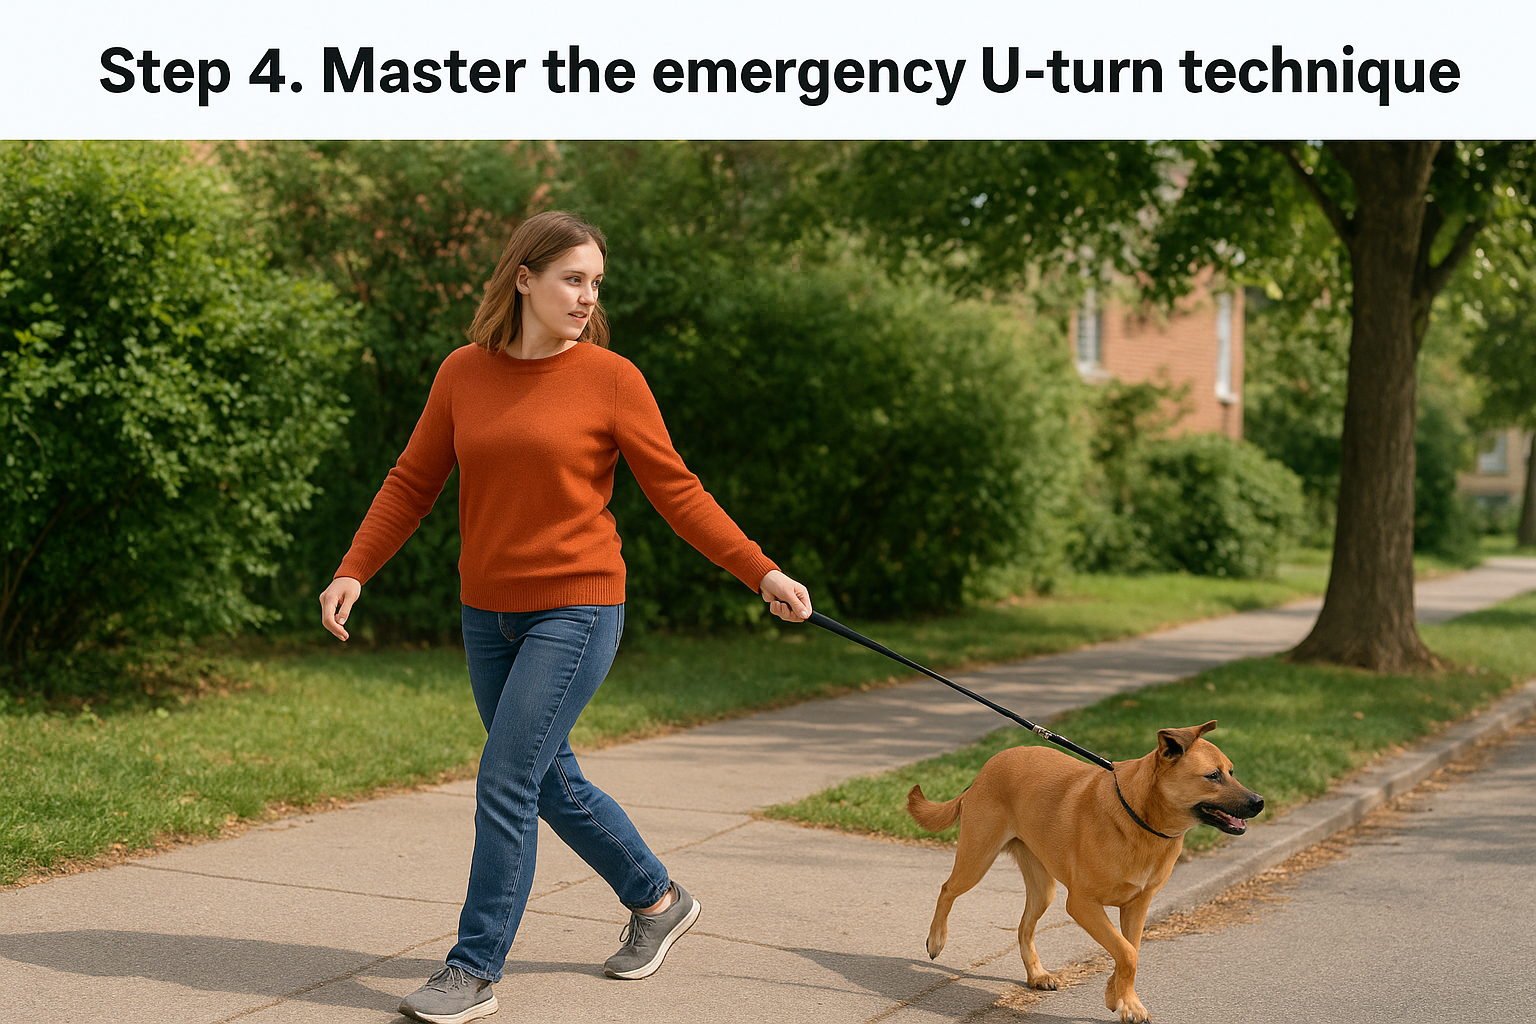
Step 4. Master the emergency U-turn technique
Even with perfect threshold management and counter-conditioning practice, unexpected triggers will appear at distances too close for your dog to handle calmly. A dog rounds a corner suddenly, a cyclist approaches from behind without warning, or another owner ignores your space requests and walks straight towards you. These situations require an emergency exit strategy that removes your dog from the overwhelming scenario before reactive behaviour erupts. The U-turn technique gives you this escape route, allowing you to redirect your dog away from triggers whilst maintaining their emotional control and your training progress.
Teaching the U-turn in low-stress environments
Begin your U-turn training indoors where zero distractions exist and your dog can focus entirely on learning the new behaviour. Hold treats in your hand and stand with your dog beside you. Say your chosen cue word like "let's go" or "this way" in a cheerful, upbeat tone, then turn 180 degrees and walk in the opposite direction. Mark and reward your dog the moment they turn with you.
Practice this basic turn-and-reward sequence ten times per session, alternating which direction you turn. Your dog learns that your verbal cue predicts an immediate direction change and that following you produces treats. Most dogs master this foundational behaviour within two or three training sessions because the movement itself creates natural interest and engagement.
Progress to outdoor practice in your quiet garden or empty street once your dog responds reliably indoors. Add mild distractions like toys on the ground or food bowls at a distance. Execute your U-turn cue and reward your dog for maintaining focus on you rather than investigating the distraction. This intermediate step builds the behaviour's strength before applying it in genuine reactive situations.
Executing the U-turn during reactive moments
Apply your trained U-turn when triggers appear inside your dog's threshold distance before they reach full reactivity. Watch your dog's body language constantly during walks. The moment you spot those early warning signs (stiffening, focused staring, or slowed movement), immediately deliver your U-turn cue and turn away from the trigger.
Use this step-by-step sequence during actual encounters:
- Spot the trigger approaching too close
- Say your cue word in a bright, happy voice
- Turn 180 degrees away from the trigger
- Walk briskly in the new direction
- Feed continuous treats as your dog follows
- Create distance until your dog relaxes
Keep your energy positive and movement fluid throughout the U-turn. Rushed, panicked movements signal danger to your dog, potentially triggering the reactive response you're trying to prevent. Maintain that loose lead from Step 3, avoiding any tension that contradicts your calm redirection.
The U-turn technique succeeds because it respects your dog's emotional capacity whilst actively managing the environment to prevent overwhelming encounters.
Continue treating your dog for ten to fifteen seconds after completing the U-turn, rewarding both the turn behaviour and the choice to disengage from the trigger. This double reinforcement strengthens your dog's confidence in your leadership and builds trust that you'll remove them from stressful situations rather than forcing them to endure encounters beyond their current ability to handle calmly.
Step 5. Recognize trigger stacking and allow decompression
Your dog's stress tolerance operates like a bucket that fills with each triggering encounter during your walk. A passing jogger adds water, then a barking dog behind a fence adds more, followed by a skateboard rattling past. Each individual trigger might sit below your dog's reaction threshold, but the cumulative effect pushes them over the edge, causing explosive reactivity to a stimulus they'd normally handle calmly. This phenomenon, called trigger stacking, explains why your dog sometimes reacts unpredictably to situations they've previously managed without issue. Understanding how to stop lead reactivity requires recognizing when your dog's stress bucket fills too full and implementing deliberate decompression to empty it again.
Understanding cumulative stress effects
Stress hormones like cortisol and adrenaline remain elevated in your dog's bloodstream for 24 to 72 hours after a reactive episode. Your dog doesn't return to baseline emotional stability the moment the trigger disappears from sight. Instead, they carry that physiological arousal into the next encounter, reducing their threshold distance and increasing reaction intensity throughout the day.
Multiple triggers within a short timeframe create exponential stress escalation rather than simple addition. Your dog might tolerate three separate dog encounters spread across different days, but three encounters within one 30-minute walk overwhelm their coping capacity. The second trigger arrives before the first trigger's stress response subsides, and the third trigger hits whilst cortisol levels peak from the previous two.
Environmental stressors beyond obvious triggers also fill your dog's stress bucket. Loud traffic noise, unfamiliar locations, hot weather, physical discomfort from an ill-fitting collar, hunger, and even your own anxiety contribute to their overall arousal level. A reactive episode that seems to occur "out of nowhere" usually stems from accumulated stress your dog carried into the situation rather than the final trigger alone.
Recognising trigger stacking transforms how you interpret your dog's reactive behaviour, shifting focus from individual incidents to the cumulative stress load affecting their emotional capacity.
Implementing decompression walks
Decompression walks provide your dog with low-stimulus environments where they can explore, sniff, and move freely without encountering reactive triggers. These walks serve a completely different purpose than training walks, prioritizing mental relaxation over obedience or desensitization work. Schedule decompression walks in quiet natural spaces like empty fields, woodland trails during off-peak hours, or industrial areas on weekends.
Follow these decompression walk principles to maximize stress reduction:
| Training Walk | Decompression Walk |
|---|---|
| Structured route with goals | Wandering exploration |
| Loose lead heel position | Long lead (5-7 metres) |
| Counter-conditioning focus | Sniffing and natural behaviour |
| 20-30 minute duration | 45-60 minute duration |
| 1-2 triggers managed | Zero trigger exposure |
Allow your dog to sniff extensively during decompression walks, as scent processing activates calming neurochemicals and provides mental stimulation without arousal. Let them choose the walking pace and direction within safe boundaries. Avoid all training cues, treat delivery, or structured behaviours. Your only role involves maintaining safety whilst your dog naturally regulates their nervous system back to baseline through peaceful exploration.
Schedule at least two decompression walks weekly in addition to your regular training walks, increasing frequency after particularly stressful days or reactive episodes. This deliberate downtime prevents trigger stacking from accumulating across weeks, giving your dog the emotional recovery time necessary for training progress to solidify into lasting behavioural change.
Moving forward with confidence
You now possess a complete framework for learning how to stop lead reactivity through systematic desensitization, counter-conditioning, and environmental management. These five steps work together as an integrated system where threshold awareness informs your counter-conditioning distance, loose lead skills prevent mechanical escalation, emergency U-turns provide safety nets, and decompression walks maintain your dog's emotional capacity for continued progress. Consistency matters more than perfection, so expect setbacks whilst celebrating small victories.
Progress unfolds gradually over weeks and months rather than days. Your dog's brain needs repeated positive experiences to rewire automatic responses that formed over extended periods. Track your threshold distances weekly to document improvements that might feel invisible during daily walks. Remember that proper equipment supports your training efforts by eliminating discomfort that contributes to reactive behaviour. The Canny Collar provides gentle head control without neck pressure, giving you calm walking whilst you implement these techniques for lasting behavioural change.

